
A 3-day emergency food supply is the government’s starting recommendation for UK households — and this guide shows you how to build one from normal supermarket food, without freeze-dried ration buckets or American prepper gimmicks.
This is the 3-day emergency pantry. It’s not about survivalism or prepper fantasies. It’s about having three days’ worth of food that you’d actually eat, stored in a way that makes sense for a UK household. Whether it’s a winter storm, a burst water main affecting your street, or a power cut during Storm Bert, this guide will help you build a practical food store that works when the infrastructure doesn’t.
Why 3 Days?
Three days is the government’s official recommendation for emergency preparedness. It’s the typical time frame for emergency services to restore critical infrastructure after a major incident. It’s also the window between “inconvenient disruption” and “genuine crisis” for most UK households.
During Storm Arwen in 2021, thousands of homes across Scotland and northern England lost power for over a week. In 2018, the Beast from the East left entire communities cut off by snow for days. These aren’t hypothetical scenarios—they’re recent UK events where having three days of food made the difference between mild inconvenience and real hardship.
A 3-day pantry also gives you breathing room during less dramatic disruptions: a boil water notice when you’re too ill to boil water safely, a burst water main that shuts down local shops, or a fuel shortage that makes the supermarket run impractical. It’s insurance against the ordinary chaos of modern life, not just disaster scenarios.
The Core Principle: Buy What You Eat, Eat What You Buy
The biggest mistake people make with emergency food is buying things they’d never normally eat. Tins of corned beef gathering dust at the back of the cupboard. Packets of instant noodles no one touches. Dried beans that require soaking overnight when you’ve never cooked dried beans in your life.
Here’s the rule: if you wouldn’t eat it next Tuesday for dinner, don’t store it for an emergency. Stress makes everything harder, including choking down food you dislike. When the power’s been out for two days and you’re eating by torchlight, the last thing you need is a meal that makes you miserable.
Instead, build your emergency pantry from foods you already buy and rotate them through your normal meals. This approach keeps everything fresh, prevents waste, and means you’re genuinely prepared with food your family will eat. It’s how Grandparents/Great Grandparents used to do it!

🦆 Keith
Don’t Be Keith
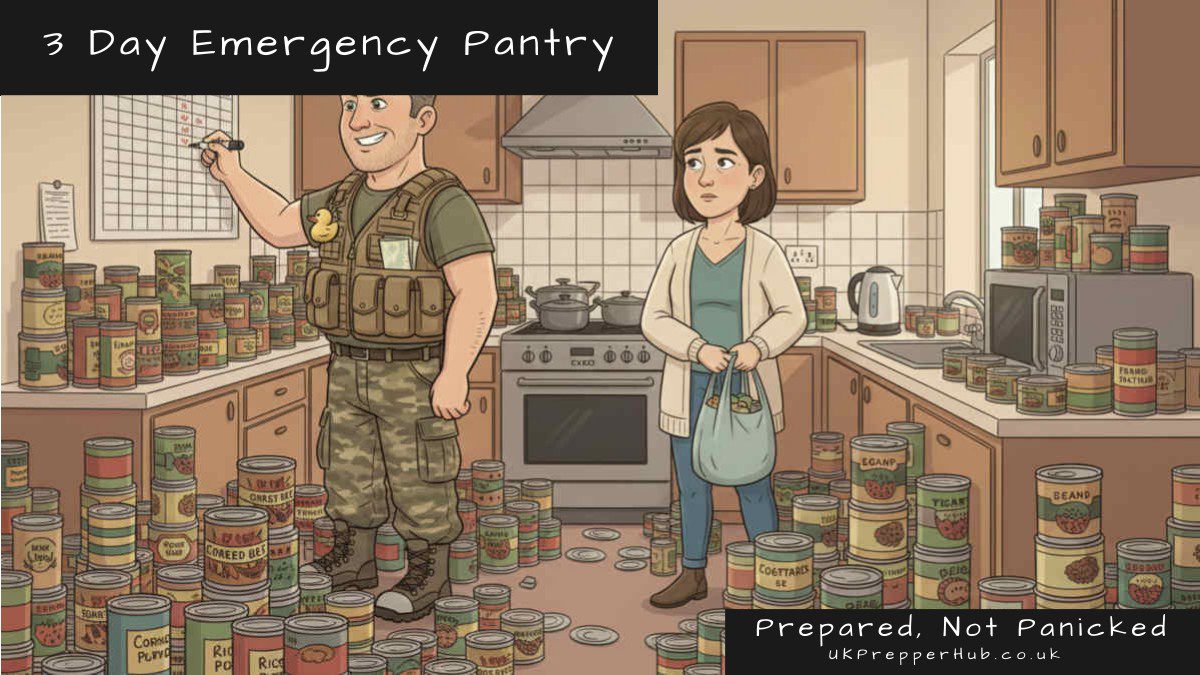
Keith spent £80 filling his emergency kit with unfamiliar tins he’d spotted on offer — corned beef hash, pilchards in mustard sauce, marrowfat peas — none of which his household would touch in normal life, let alone a crisis.
Plan for Cold Eating (Then Add Heat as a Bonus)
Your emergency food strategy should assume zero cooking capability. No kettle, no microwave, no hob, no oven. This is your baseline. If you can heat food safely later, that’s a bonus—but your pantry should work without it.
Why? Because the moment you depend on a camping stove or portable cooker, you’re adding complexity, fuel requirements, and potential failure points. If your butane canister runs out or your stove won’t light, your entire food plan collapses. Build for cold eating first, and you’ll never get caught out.
That doesn’t mean everything has to be eaten stone cold from the tin—it means your plan shouldn’t require heating. Tinned soup is perfectly edible cold (if grim). Pasta in tomato sauce works straight from the tin. Baked beans can be eaten without warming, though they’re better heated. The key is having options that don’t need cooking to be safe and palatable.
If you do have a camping stove or alternative cooking method, you’ll find detailed guidance in our Cooking Without Electricity guide. Just remember: cooking capability is a luxury addition to your pantry, not the foundation.
Complete Guide
Cooking Without Power
A well-stocked long-term pantry is only useful if you can actually prepare the food when the power goes down. This guide covers practical cooking options for UK households — from camping stoves to solid fuel — so your stored food stays accessible when you need it most.
Read the Full Guide: Cooking Without Power →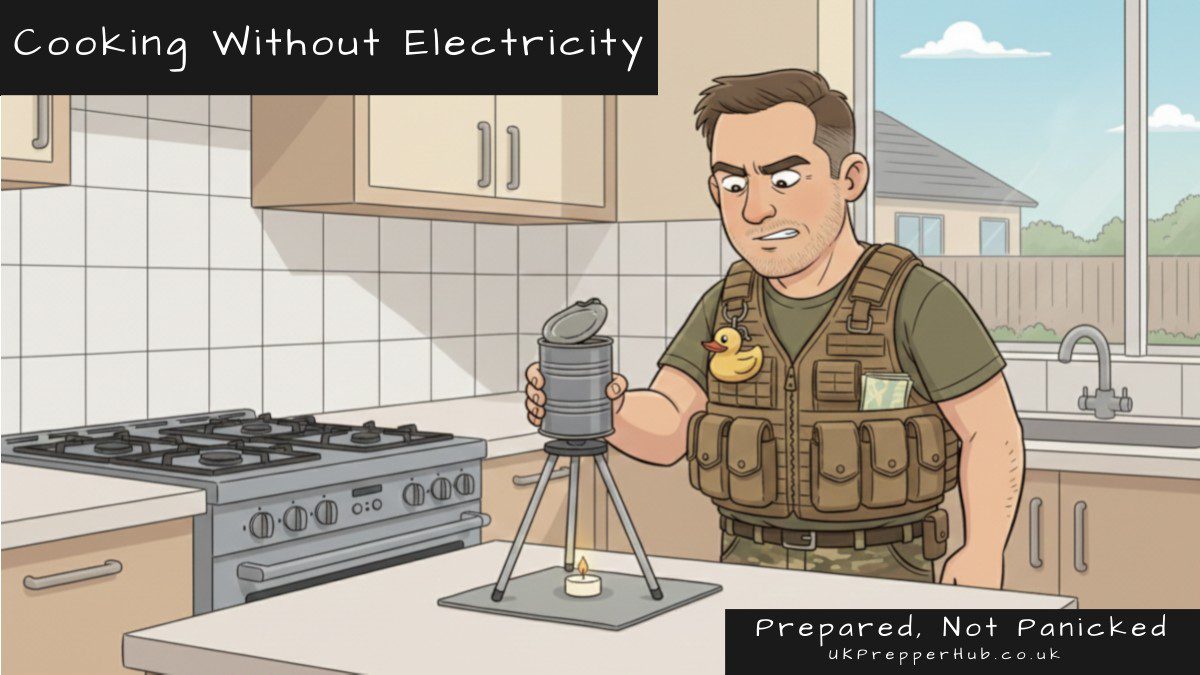
What NOT to Store: The Frozen Food Trap
Your freezer is not emergency storage. When the power goes out, the clock starts ticking. You’ve got roughly 24-48 hours before everything in there becomes inedible, depending on how full the freezer is and whether you open it.
This means frozen chips, frozen pizza, ice cream, frozen veg, and that bulk bag of chicken breasts are all liabilities in a power cut, not assets. They’ll spoil before you can eat them, especially if you’re also dealing with water disruption that makes cooking impractical.
The same applies to fresh produce with short shelf lives. Milk goes off quickly without refrigeration. Lettuce wilts. Fresh bread moulds. Build your emergency pantry around shelf-stable foods that laugh in the face of room temperature storage.
Your 3-Day Emergency Food Supply: The Complete Shopping List
Everything in this list is available at any major UK supermarket. No specialist outdoor shops, no Amazon orders, no survivalist forums required. Just a normal shopping trip with a slightly different list.
Tinned Proteins
Protein is the foundation of any meal, and tins make it foolproof. These all work cold or heated:
- Tinned tuna (in brine or spring water—avoid oil if you’re eating cold)
- Tinned salmon (more expensive but higher quality protein)
- Tinned chicken breast (surprisingly good cold in wraps or with crackers)
- Tinned ham (perfect for sandwiches if you have bread alternatives)
- Tinned corned beef (divisive but calorie-dense and shelf-stable for years)
- Tinned mackerel or sardines (oily fish, nutritionally excellent, strong flavour)
- Tinned meatballs in gravy (easy comfort food, works cold or hot)
- Tinned hotdogs or frankfurters (pre-cooked, kid-friendly)
For vegetarians: tinned beans (kidney, chickpeas, mixed beans) provide protein and work in cold salads or heated stews. Tinned lentil soup is another winner.
Carbohydrates and Starches
Energy foods that don’t need cooking or can be eaten with minimal prep:
- Tinned pasta (ravioli, spaghetti in tomato sauce, macaroni cheese)
- Tinned potatoes (drain and eat cold in salads, or heat if possible)
- Instant mashed potato (requires hot water, so only useful with a kettle or stove)
- Crackers and crispbreads (Ryvita, water biscuits, cream crackers)
- Rice cakes (lightweight, long shelf life)
- Oatcakes (dense, filling, good with cheese or tinned fish)
- Breakfast cereals (eaten dry as a snack or with UHT milk)
Rice and pasta require cooking, so they’re only useful if you have a camping stove and water. Store them if you’re confident in your cooking setup—otherwise, stick to ready-to-eat carbs.
Tinned and Jarred Vegetables
- Baked beans (classic UK staple, eat cold or heated)
- Tinned sweetcorn (great in salads or eaten straight from the tin)
- Tinned peas (surprisingly good cold)
- Tinned carrots (soft texture, mild flavour)
- Tinned tomatoes (chopped or whole—useful for making sauces if you can cook)
- Tinned mixed veg (peas, carrots, sweetcorn combos)
- Jarred beetroot (vinegar-preserved, tangy, nutritious)
- Jarred pickles and gherkins (not exactly vegetables, but add flavour)
Ready Meals and Complete Tins
Meals in a tin take the guesswork out of emergency eating:
- Tinned soup (tomato, chicken, vegetable—dozens of varieties)
- Tinned curry (jalfrezi, korma, tikka masala with rice or sauce)
- Tinned chilli con carne
- Tinned stew (beef, lamb, or chicken)
- Tinned all-day breakfast (beans, sausages, bacon—peak British emergency food)
- Pot Noodles or similar instant meals (require hot water only)
Spreads, Condiments, and Flavour Boosters
Food tastes better with seasoning, and morale matters in an emergency:
- Peanut butter (high protein, calorie-dense, long shelf life)
- Jam or marmalade (sugar boost, goes with crackers or bread)
- Marmite or Bovril (divisive but long-lasting and nutritious)
- Honey (never goes off, natural sweetener)
- Ketchup, brown sauce, or mayo sachets (flavour without refrigeration)
- Salt and pepper (essential for making bland food edible)
- Stock cubes or gravy granules (if you can boil water)
Bread Alternatives
Fresh bread goes mouldy fast. These don’t:
- Crispbreads (Ryvita, Finn Crisp)
- Crackers (cream crackers, water biscuits, Tuc biscuits)
- Tortilla wraps (sealed packs last weeks)
- Pitta bread (longer shelf life than sliced bread)
- Naan bread (vacuum-sealed packs, microwave or eat cold)
Milk and Dairy Alternatives
- UHT milk (lasts months unopened, normal once opened)
- Powdered milk (just add water—if you have water)
- Evaporated milk (for tea, coffee, or cooking)
- Tinned custard (comfort food, pairs with tinned fruit)
- Tinned rice pudding (sweet, filling, nostalgic)
Treats and Morale Boosters
Never underestimate the psychological value of food you look forward to eating. When you’re two days into a power cut, cold and bored, a chocolate bar or tin of rice pudding can make a huge difference to morale—especially for kids.
- Chocolate bars (Mars, Snickers, Dairy Milk—anything your family likes)
- Biscuits (digestives, custard creams, bourbons)
- Cereal bars and flapjacks (portable, filling, kid-friendly)
- Tinned fruit (peaches, pears, fruit cocktail—sweet and hydrating)
- Tinned rice pudding or custard (easy comfort food)
- Squash or cordial (makes stored water more palatable)
- Instant hot chocolate sachets (if you can boil water)
The Best Energy Bars for Your UK Emergency Kit
What are the best brands, and which should you choose? A look at the main 5 brands available in the UK. Five genuinely different options for different dietary needs and use cases
Our Full Review: The Best Energy Bars →
Drinks
Water is covered in our Emergency Water Storage guide, but don’t forget other drinks:
- Bottled water (minimum 9 litres per person for 3 days)
- Fruit juice cartons (shelf-stable until opened)
- Squash or cordial (makes stored water more interesting)
- Tea bags and instant coffee (if you can boil water)
- Sports drinks or electrolyte sachets (useful if water is limited)
Sample 3-Day Menu (No Cooking Required)
Here’s what three days of cold eating actually looks like, using only items from the list above:
Day 1
- Breakfast: Cereal with UHT milk, cereal bar, juice
- Lunch: Tinned tuna with crackers, tinned sweetcorn, bottled water
- Dinner: Tinned soup (eaten cold), bread with peanut butter, tinned fruit
Day 2
- Breakfast: Oatcakes with jam, chocolate bar, squash
- Lunch: Tinned chicken on crackers, baked beans (cold), rice cakes
- Dinner: Tinned pasta (ravioli or spaghetti), tinned custard, biscuits
Day 3
- Breakfast: Cereal (eaten dry), flapjack, juice
- Lunch: Tinned ham wrap (or with crackers), tinned peas, water
- Dinner: Tinned all-day breakfast, bread with butter substitute, tinned rice pudding
Is it gourmet? No. Is it nutritionally perfect? Not quite. But it’s edible, familiar, and achievable without any cooking equipment whatsoever. If you add a camping stove, you can heat soups, make pasta, and brew tea—but even without it, you’re covered.
Storage and Rotation: Keep It Fresh
Your emergency pantry isn’t a static museum display. It needs to rotate through your normal meals to stay fresh and edible.
Here’s how to manage it:
- First In, First Out (FIFO): When you buy new tins, put them at the back. Use the oldest tins first in your regular cooking.
- Check dates every 6 months: Most tinned foods last 2-5 years, but it’s worth checking. Bin anything past its date.
- Cook from your pantry weekly: Make it a habit to use tinned ingredients once a week. Tinned tomatoes in a pasta sauce, baked beans on toast, tinned tuna in a salad. This keeps stock moving and prevents waste.
- Store in a cool, dry place: Heat and moisture shorten shelf life. Avoid storing tins near radiators, boilers, or damp cupboards.
If you’re rotating properly, you should never have food expire. You’re just buying slightly more of what you already eat and using it before replacing it.
Special Dietary Needs
Allergies, intolerances, and specific diets don’t disappear during emergencies. If anything, they become more challenging to manage when options are limited.
Gluten-Free
Most tinned proteins (tuna, chicken, ham) are naturally gluten-free. Replace crackers with rice cakes or gluten-free alternatives. Tinned soup and ready meals often contain wheat, so check labels carefully. Gluten-free pasta is widely available and stores just as well as regular pasta.
Vegetarian and Vegan
Tinned beans (kidney, chickpeas, butter beans, mixed beans) are your protein foundation. Tinned lentil soup, vegetable curry, and baked beans all work. For vegans, avoid tinned custard and rice pudding (contain milk) and check labels on ready meals—many contain dairy. Peanut butter, jam, and most crackers are vegan-friendly.
Diabetic or Low-Sugar
Avoid tinned fruit in syrup (go for juice or water instead). Skip the chocolate bars and biscuits, or choose sugar-free versions. Focus on protein-heavy tins (tuna, chicken, beans) and unsweetened crackers. If you’re insulin-dependent, ensure you have adequate supplies stored safely—this goes beyond food and into medical preparedness.
Baby and Infant Food
If you have babies or young children, your emergency pantry must include formula (if applicable), baby food jars or pouches, and snacks they’ll actually eat. Don’t assume they’ll adapt to adult emergency rations. Stock what they already eat, and rotate it just like everything else.
How Much to Store Per Person
This depends on your household size, appetite, and how much space you have. As a rough guide for one adult over 3 days:
- 3-4 tins of protein (tuna, chicken, ham, etc.)
- 3-4 tins of ready meals or soup
- 2-3 tins of vegetables (beans, sweetcorn, peas)
- 1 pack of crackers or crispbreads
- 1 jar of peanut butter or similar spread
- 2-3 litres of UHT milk
- 9 litres of bottled water (3 litres per day minimum)
- Snacks and treats to taste (chocolate, biscuits, cereal bars)
- 1-2 tins of pudding or fruit for morale
Multiply by the number of people in your household, then adjust for children (smaller portions) and teenagers (larger portions). This isn’t an exact science—you’re aiming for “enough food to avoid hunger and misery for 72 hours,” not military ration precision.
Adding Heat: The Camping Stove Advantage
If you have a camping stove and fuel, your emergency pantry suddenly becomes much more flexible. Hot soup tastes better than cold soup. Pasta and rice become viable options. A cup of tea in the middle of a power cut is genuinely morale-boosting.
But—and this is critical—your camping stove is an enhancement, not a dependency. Build your pantry to work without it, then treat cooking as a luxury addition. If your butane runs out or the stove malfunctions, you’re still covered.
For detailed guidance on safe indoor cooking during power cuts, including stove options, fuel storage, and ventilation, see our Cooking Without Electricity guide.
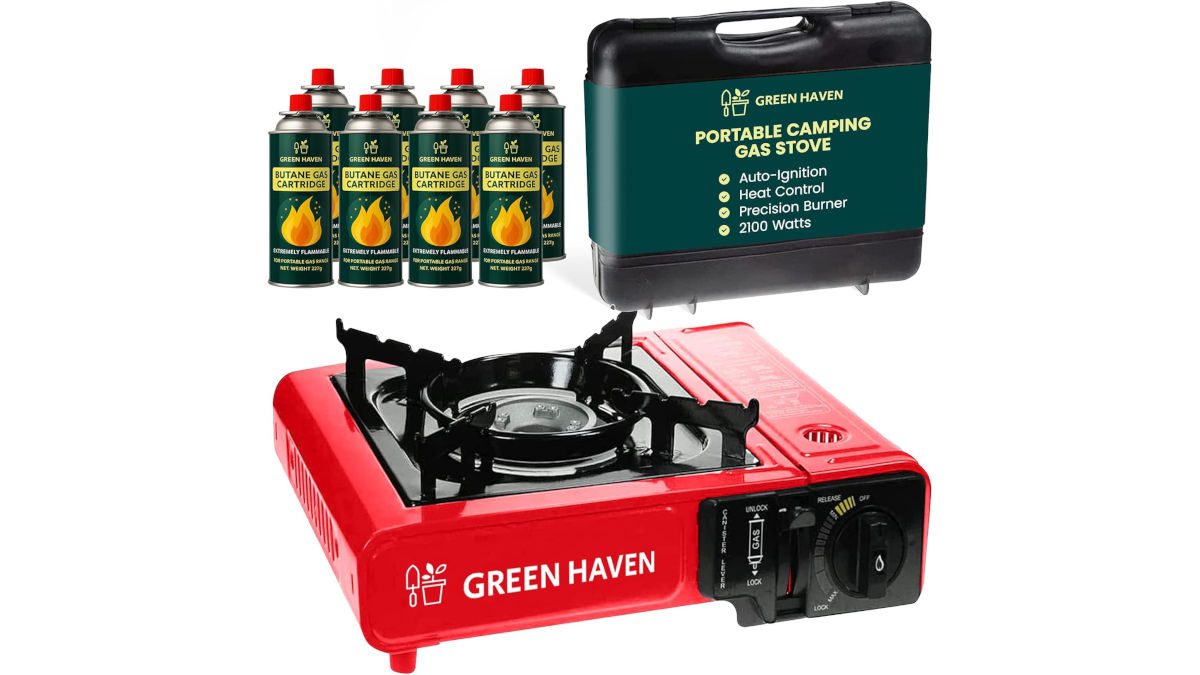
Portable Gas Stove with Carry Case & 8 Butane Cartridges
Boils the kettle and cooks a proper meal on top of your hob when the power goes, with no electricity at all.
Power Cuts and Your Pantry
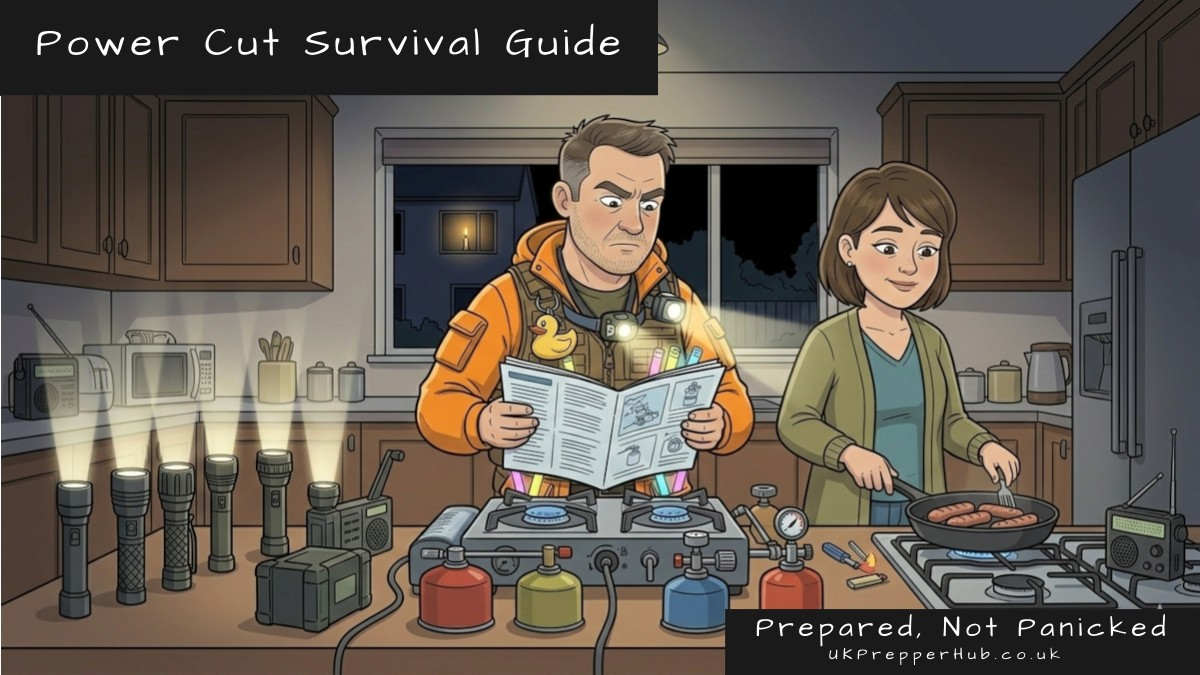
When the lights go out, your emergency pantry becomes your lifeline. But a 3-day food store is only part of the picture—you also need light to see what you’re eating, a way to open tins safely, and a plan for staying warm if it’s winter.
Our Power Cut Survival Guide covers torches, batteries, heating, and the broader logistics of managing a blackout. Your food is sorted—now make sure you can access and eat it safely in the dark.
Complete Guide
How to Prepare for a Power Cut
The 12 things to sort before the lights go out: lighting, heating, food, water and keeping phones charged, plus what to do in the first few minutes.
Common Mistakes to Avoid
Even with the best intentions, it’s easy to make errors when building an emergency pantry. Here are the most common pitfalls and how to avoid them:
Buying Food You’ve Never Eaten
This is the single biggest mistake. You see a tin of corned beef hash on special offer and think “that’ll do for emergencies.” Six months later, the power goes out, you crack it open, and discover you hate corned beef hash. Now you’re hungry, stressed, and eating something that makes you miserable.
Solution: Only store food you’ve tried and know you’ll eat. If you’ve never had tinned mackerel, don’t buy 10 tins for your pantry. Buy one, try it, then decide if it’s worth stocking.
Ignoring Expiry Dates
Tinned food lasts years, but not forever. If you build a pantry and then forget about it for five years, you’ll end up with a cupboard full of rusted tins and expired biscuits. This defeats the entire purpose.
Solution: Rotate your stock. Use the oldest items first, replace as you go, and check dates every six months. Set a calendar reminder if you need to. This turns your emergency pantry into a living system rather than a static stockpile.
Over-Reliance on Cooking Equipment
“I’ve got a camping stove, so I’ll just store rice and pasta.” Great plan—until the stove breaks, the butane runs out, or you’re in a situation where you can’t safely use it indoors. If your entire food plan depends on one piece of equipment, you don’t have a plan—you have a single point of failure.
Solution: Build your pantry for cold eating first. If you can heat food later, brilliant. If you can’t, you’re still covered. Cooking capability should be a bonus, not a requirement.
Forgetting Water
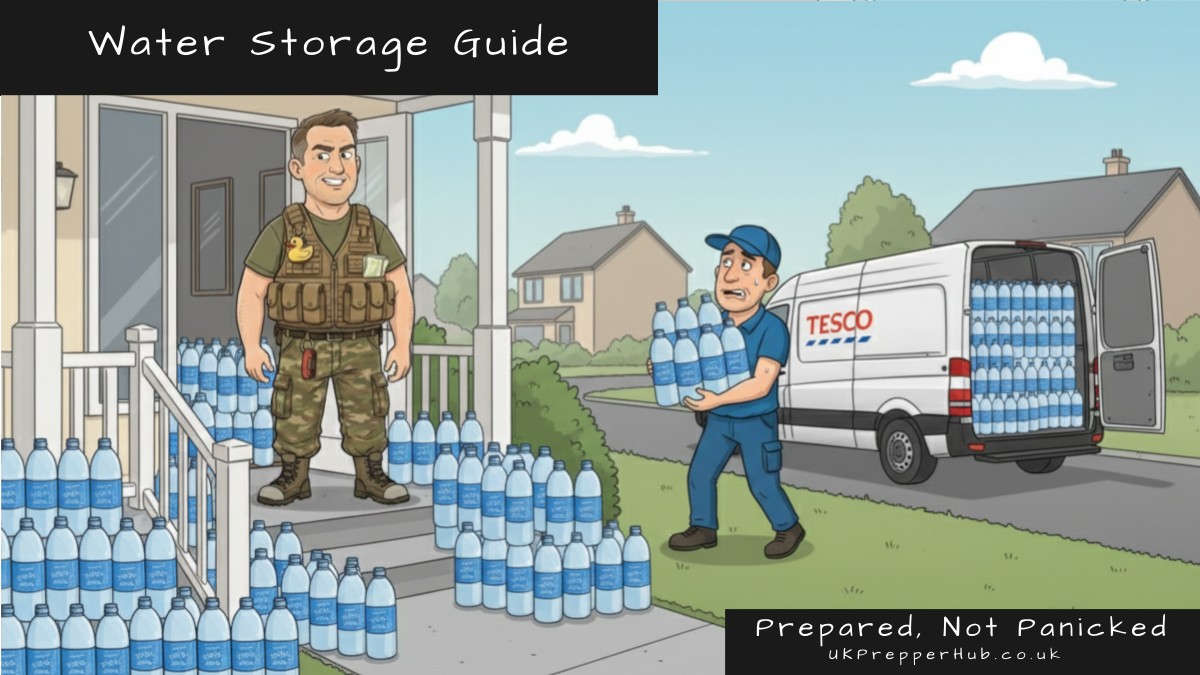
You can have all the tinned food in the world, but if you don’t have water to drink, wash your hands, or cook with (if applicable), you’re still in trouble. Water is more critical than food in an emergency—you can survive weeks without food, but only days without water.
Solution: Store at least 9 litres of water per person for 3 days (3 litres per day). More if you have space. Our Emergency Water Storage guide covers this in detail, including storage containers, rotation, and purification methods.
Complete Guide
Emergency Water Storage
How much to store, how to store it in small spaces, and the reality of UK water rotation.
Neglecting Can Openers and Utensils
It sounds obvious, but you’d be surprised how many people stock a cupboard full of tins and then realise they don’t have a manual can opener when the power goes out. Electric can openers are useless in a blackout, and ring-pull tins aren’t always available for every product.
Solution: Keep at least one sturdy manual can opener with your pantry supplies. Ideally, keep two—one in the kitchen drawer and one in your emergency kit. Also store disposable cutlery or a dedicated set of utensils so you’re not scrabbling around in the dark looking for a spoon.
Storing Everything in One Place
If all your emergency food is in the garage and you get flooded, or it’s upstairs and you can’t access the stairs safely, your pantry becomes useless. Centralising everything in one location creates vulnerability.
Solution: Split your supplies. Keep some in the kitchen cupboard, some in a storage box under the stairs, and perhaps a small stash in the car boot. This way, if one location becomes inaccessible, you still have options.
Buying Too Much Too Fast
The urge to “sort it all out at once” leads to panic-buying 50 tins of random food in a single shopping trip. This is expensive, overwhelming, and often results in buying things you don’t actually need or won’t eat.
Solution: Build your pantry gradually. Add a few extra tins each week when you do your normal shop. Spread the cost over months. This makes it financially manageable and gives you time to think about what you’re actually storing and why.
Forgetting About Pets
If you have a dog, cat, or other pet, they need food too. An emergency doesn’t pause their mealtimes, and pet shops might be closed or inaccessible during a crisis.
Solution: Store at least 3 days’ worth of pet food alongside your human supplies. Dry food lasts longer than wet, but if your pet only eats wet food, stock accordingly. Don’t forget water for them as well.

🐾 Weekend Warrior
Pet Tip
Pickle gets three days of dry kibble and her own water supply in the emergency kit — because Pickle doesn’t go quietly when she’s hungry
Final Thoughts: This Isn’t Survivalism, It’s Common Sense
A 3-day emergency pantry isn’t about prepping for the apocalypse. It’s insurance against the reality of living on an island with unpredictable weather, ageing infrastructure, and occasional supply chain hiccups. It’s having food in the house when the roads are snowed in, the power’s out, or you’re too ill to get to the shops.
You don’t need buckets of freeze-dried meals or American Prepper MREs. You just need a slightly fuller cupboard stocked with food you’d actually eat, rotated through your normal cooking, and accessible without electricity. That’s it.
Start small. Buy an extra tin of tuna next time you’re at Tesco. Add a couple of tins of soup. Grab a pack of UHT milk. Within a few weeks, you’ll have built a functional emergency food store without spending a fortune or filling your kitchen with nonsense.
And when the next storm hits, or the power goes out, or the pipes freeze, you’ll eat normally while everyone else panics. That’s the point.
Complete Guide
Long-term food storage
Most households have a few days of food at best, but real disruptions in the UK can last far longer and quickly expose that gap. This guide shows you how to build a practical, affordable food reserve that actually works in the real world—not just on paper.
Read the Full Guide: Long-term food storage →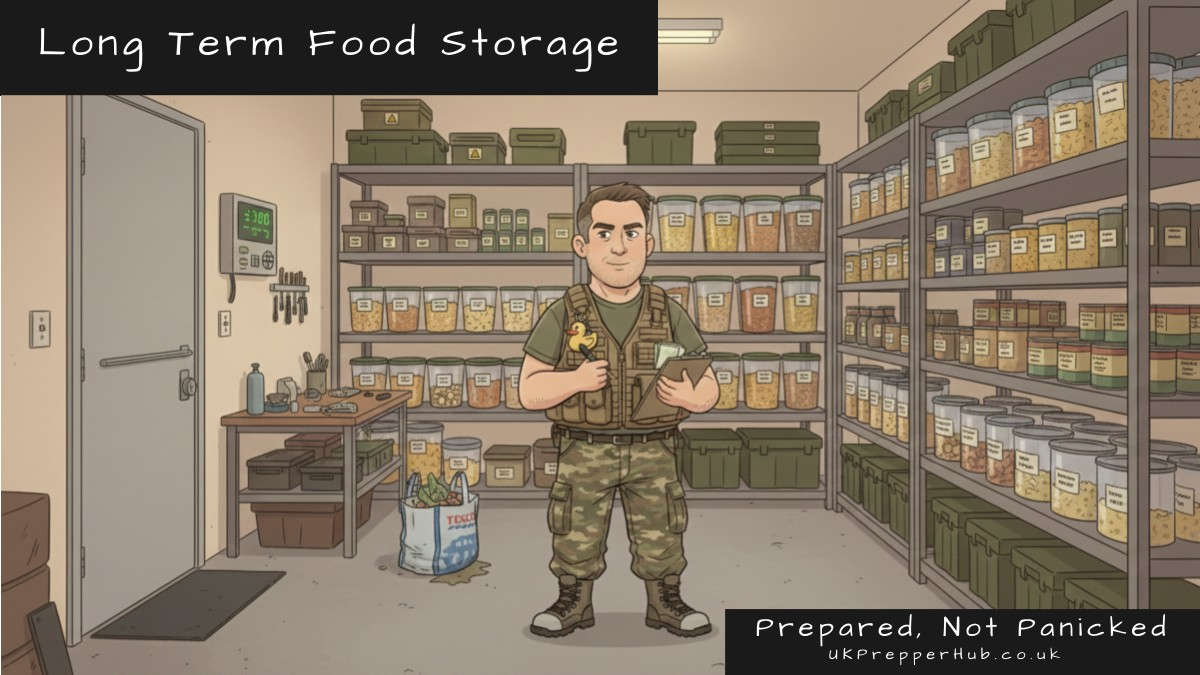
Frequently Asked Questions
What is the government’s recommendation for emergency food storage?
Three days is the UK government’s official minimum — enough to cover most short-term disruptions such as severe weather, power cuts, or localised supply issues. Three days is achievable for most households in a single shopping trip, and it is the right starting point before thinking about anything longer-term.
Can I use my freezer as emergency food storage?
No. A freezer only works while the power is on, and a power cut — the most common emergency scenario — starts the clock immediately. Everything inside begins to spoil within 24–48 hours. Build your emergency pantry entirely from shelf-stable food: tins, UHT milk, crackers, dried goods. Treat frozen food as a bonus for day one, not a plan.
How much does a 3-day emergency pantry cost to build?
For a family of four, expect to spend roughly £40–60 spread over four to six weeks of normal shopping. Adding a few extra tins each week keeps the cost manageable and avoids a big one-off spend. Most of this food is what you already buy — you are just buying slightly more of it.
How do I stop my emergency food going out of date?
Rotate it. Buy new tins, put them at the back, use the oldest ones first in your regular cooking. Tinned food generally lasts two to five years, so you have plenty of time — but it needs to move through your kitchen, not sit forgotten. A quick check every six months takes five minutes and keeps everything fresh.
Do I need special equipment to eat from an emergency pantry?
Very little. A good manual tin opener is essential — keep a spare, because electric ones are useless in a blackout. Disposable plates and cutlery are handy if your dishwasher is out. Beyond that, your emergency pantry should work without any cooking equipment at all. If you have a camping stove, it extends your options considerably, but it should never be the foundation of the plan.
Build Your Resilience
Further Reading: Related Guides
- Long-Term Food Storage
- How to Prepare for a Power Cut
- Emergency Water Storage
- Blackout Box
- Cooking Without Power
All our guides can be found listed on our resilience hub.
Gear We’ve Tested & Reviewed
All our reviews can be found on our reviews and resources page.