
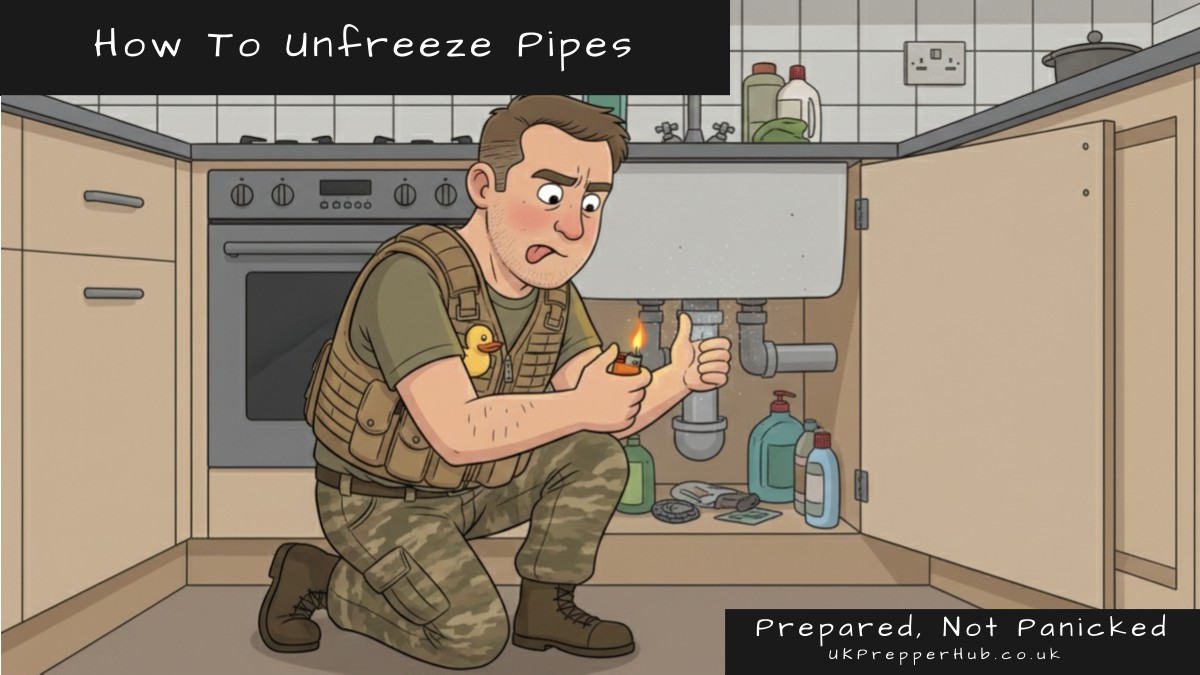
How to Unfreeze Frozen Pipes Safely
When temperatures drop below freezing for more than 24 hours, the water inside your pipes can freeze solid. Knowing how to unfreeze pipes safely — without causing a burst — is one of the most practically useful things a UK homeowner can learn. Get it wrong and you turn a frozen pipe into thousands of pounds of flood damage the moment the ice shifts.
The 2018 “Beast from the East” demonstrated this perfectly. The initial freeze caused inconvenience. The rapid thaw that followed caused catastrophe — over 200,000 UK homes lost water supply as pipes burst simultaneously across London and the South East. Insurance claims exceeded £50 million in a single week.
This guide explains how to unfreeze pipes safely, how to prevent them freezing in the first place, and what to do when a pipe bursts despite your best efforts. UK-specific advice for UK homes — Victorian terraces, council flats, modern builds, and everything in between.
Why UK Homes Are Particularly Vulnerable
UK housing stock was not designed for prolonged sub-zero temperatures. Our temperate maritime climate means most homes prioritise keeping rain out, not extreme cold. This creates specific vulnerabilities:
Inadequate Pipe Insulation
Homes built before 1990 often have uninsulated pipes running through unheated spaces — lofts, external walls, garages, and underfloor voids. Even modern builds can have exposed pipework in roof spaces or attached garages that drop below freezing during cold snaps.
External Wall Routing
Many UK homes have water pipes running through external walls, especially older properties. These pipes are in direct contact with brickwork exposed to freezing wind and rain. When temperatures plummet, these are the first to freeze.
Loft Tanks and Header Pipes
If you have a traditional gravity-fed hot water system (common in pre-2000 builds), your cold water storage tank sits in the loft. The pipes feeding it and distributing from it are often the coldest in the house. Loft insulation keeps your rooms warm but makes the loft space itself colder — perfect conditions for frozen pipes.
Flats and Shared Housing
If you live in a flat, you may not have access to your own stop tap or the pipework serving your property. Pipes can run through unheated communal areas, stairwells, or behind walls you can’t reach. This makes both prevention and emergency response significantly harder.
How to Identify a Frozen Pipe
Frozen pipes don’t always announce themselves. Here’s how to spot the problem before it becomes a crisis:
No Water from Taps
Turn on a tap. If nothing comes out — or just a trickle — you likely have a frozen pipe somewhere upstream. Check multiple taps. If only one is affected (upstairs bathroom but not kitchen, for example), the blockage is between the working tap and the frozen one.
Strange Sounds from Pipes
Gurgling, clanking, or banging sounds when you turn taps on can indicate partial freezing. Ice reduces the pipe’s internal diameter, forcing water through a narrower gap and creating turbulence.
Visible Frost or Bulging
If you can see your pipes (basement, loft, under-sink cupboards), look for:
- Frost on the outside of the pipe
- Bulging or distortion of the pipe wall (ice expanding inside)
- Unusual condensation or dampness around joints
A bulging pipe is a pipe about to burst. Treat this as an emergency.
Toilet Won’t Refill
Flush the toilet. If the cistern doesn’t refill, the supply pipe to the toilet is likely frozen. This is common because toilet supply pipes often run through external walls or unheated spaces.
How to Unfreeze Pipes Step by Step
Thawing a frozen pipe requires patience. Rushing the process is how you turn a frozen pipe into a burst pipe. Follow these steps in order:
Step 1: Locate the Frozen Section
Turn on the affected tap and leave it open. This allows melted water to escape and relieves pressure as the ice thaws. Now trace the pipe backwards from the tap towards the mains supply or cold water tank. The frozen section is usually:
- In the loft or roof space
- Running through an external wall
- Under the floor near external walls
- In an unheated garage or utility room
Feel the pipe. The frozen section will be noticeably colder than the rest. If you can’t access the pipe (it’s behind a wall), you’ll need to warm the room instead of the pipe directly.
Step 2: Open the Tap Fully
Leave the affected tap running at a trickle if possible. As the ice melts, water will start flowing. This moving water helps thaw the remaining ice faster than static water would.
Step 3: Apply Gentle Heat
Use one of these methods to warm the frozen pipe:
Hot Water-Soaked Towels (Best Method)
Soak towels in hot (not boiling) water and wrap them around the frozen section. Replace every 5–10 minutes as they cool. This is slow but safe and effective — and the only method that works for pipes you can’t fully access.
Hairdryer (Controlled Heat)
Use a hairdryer on a low-to-medium setting. Start at the tap end and work backwards towards the frozen section. Keep the dryer moving — don’t hold it in one spot. Never use a hairdryer near standing water or damp surfaces.
Space Heater (Room Warming)
If the frozen pipe is in a small room (bathroom, cupboard), place a space heater in the room and close the door. This raises the ambient temperature and thaws the pipe indirectly. Open cupboard doors under sinks to allow warm air to circulate.
Step 4: Check for Leaks as You Thaw
As the ice melts, watch for drips, sprays, or wet patches. If the pipe has split, water will start leaking the moment the blockage clears. If you see a leak:
- Turn off the water supply immediately (see emergency response below)
- Place buckets or towels to catch dripping water
- Call a plumber
Do not continue thawing if you’ve confirmed a leak. You’ll just flood the property faster.
Step 5: Thaw Slowly and Completely
Expect the process to take 30 minutes to several hours depending on the length of the frozen section. Applying too much heat too quickly causes thermal shock — the pipe expands rapidly and cracks even if the ice hasn’t split it yet. Once water is flowing normally, leave the tap running for a few minutes to flush out any debris or air pockets.
What NOT to Do — Mistakes That Cause Burst Pipes
These methods are frequently suggested online. Do not use them:
Never Use a Blowtorch or Open Flame
A blowtorch will burst the pipe, ignite nearby materials (loft insulation, wooden joists), and potentially cause a house fire. There is no scenario where direct flame is appropriate for thawing pipes. This includes gas blowtorches, candles, or camping stoves held near pipes.
Never Use Boiling Water
Pouring boiling water directly onto a frozen pipe causes thermal shock. The sudden temperature change makes copper pipes crack and plastic pipes warp. Use hot water (50–60°C maximum) — warm to the touch but not scalding.
Never Use Electrical Heat Tape Without Supervision
Electrical heat tape is designed for freeze prevention, not thawing. If left on too long or set too high, it can overheat and cause fires. If you must use it, follow manufacturer instructions exactly.
Never Ignore a Bulging Pipe
If you see a pipe bulging or distorted, do not attempt to thaw it yourself. The pipe has already been compromised by ice expansion. Turn off the water supply and call a plumber immediately.
Never Close the Tap While Thawing
Leaving the tap open allows pressure relief. If you close the tap, melting ice has nowhere to go and pressure builds inside the frozen section — this can burst the pipe even if the ice itself hasn’t cracked it.
🦆 Keith
Don’t Be Keith
Keith tried to thaw the pipe under his kitchen sink with a lighter — “just a quick warm, nothing dramatic” — nearly set his under-sink cupboard on fire and called it a near miss.
Emergency Response: What to Do When a Pipe Bursts
Despite your best efforts, pipes sometimes burst during thawing or before you realise they’re frozen. Here’s the immediate action plan:
Step 1: Turn Off the Water Supply
Locate your internal stop tap (usually under the kitchen sink, in a downstairs cupboard, or near the front door). Turn it clockwise until it stops. If you can’t find your stop tap or it won’t turn, use the external stop tap in the pavement outside. You’ll need a stopcock key to reach deep street taps — and for seized valves that haven’t been turned in years, you’ll want something with the torque to actually move them.
1-Meter Universal Outdoor Stopcock Key Tool
A full metre of steel reach to turn the water off at the outside stopcock, with a chisel end to lever up a stuck cover.
Our Full Review: Universal Outdoor Stopcock Key →
Step 2: Turn Off Electricity if Water is Near Electrics
If water is leaking near sockets, light fittings, or your consumer unit (fuse box), switch off the electricity at the main isolator. Do not touch electrics or standing water simultaneously. If in doubt, leave the property and call emergency services.
Step 3: Contain the Water
Place buckets, towels, or waterproof sheeting to catch dripping water. For small leaks where you’ve shut off the water but residual drips continue, self-amalgamating repair tape can create a temporary waterproof seal while you wait for the plumber.
Self Amalgamating Tape
A roll of black silicone tape that fuses to itself into solid rubber: stop a leaking pipe tonight, waterproof a cable gland tomorrow.
Our Full Review: Self Amalgamating Tape →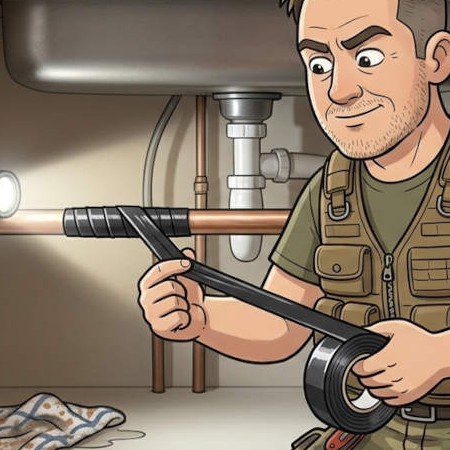
If the leak is in the loft, poke a small hole in the ceiling below the leak to create a controlled drip point — this prevents water spreading across the ceiling and causing a larger collapse. Move furniture, electronics, and valuables away from the affected area.
Step 4: Document the Damage
Take photos and videos of the burst pipe, water damage, and affected belongings. This evidence is essential for insurance claims. Note the time and date.
Step 5: Call a Plumber and Your Insurance
Contact an emergency plumber immediately. If it’s out of hours or a weekend, expect call-out fees of £100–200+. Notify your home insurance provider as soon as possible — most policies require notification within 24–48 hours of discovering damage.
Complete Guide
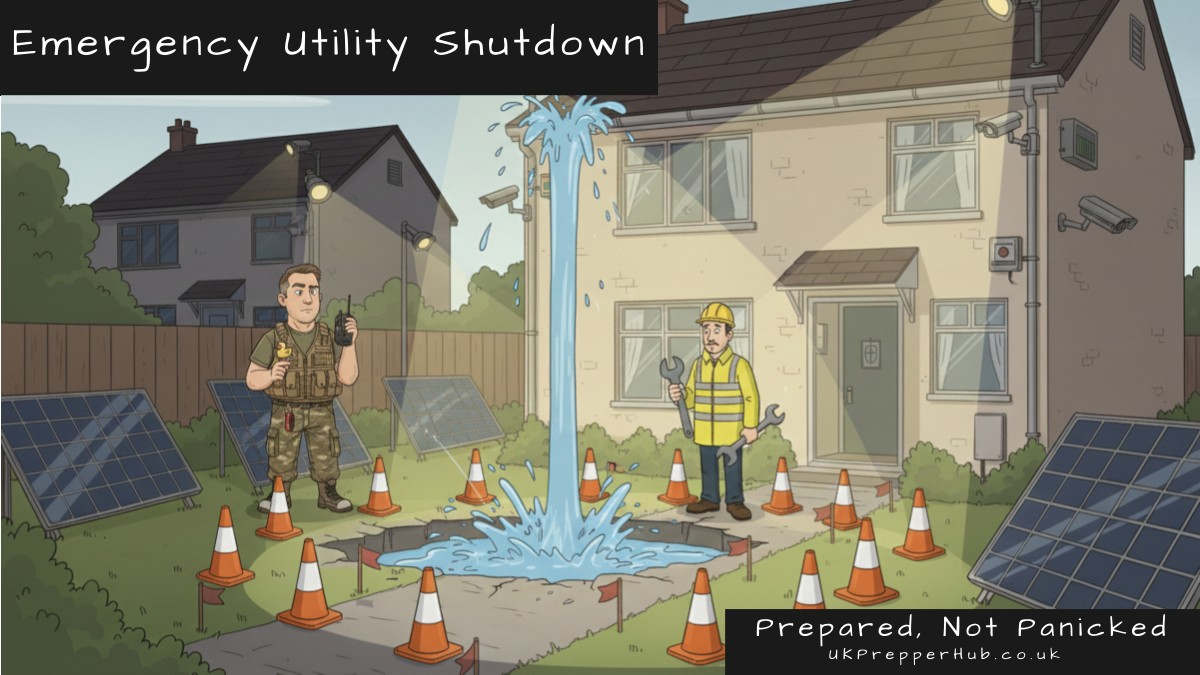
Emergency Utility Shutdown
When something goes wrong in the home — flooding, fire risk, storm damage, or a major leak — knowing when to shut off your utilities is just as important as knowing how.
When Flooding is Severe: Evacuation Considerations
If a burst pipe causes significant internal flooding — especially if it affects electrics, compromises structural safety, or makes rooms uninhabitable — you may need to evacuate temporarily. In these scenarios, having a pre-packed emergency grab bag is critical. If you’re standing in ankle-deep water with the power off and a ceiling dripping, you don’t have time to pack.
Complete Guide
UK Home Flood Defense
Even small floods can damage flooring, walls, furniture, and utilities. Knowing how to act fast and prepare your home makes recovery faster and safer.

Preventing Frozen Pipes — Before the Cold Snap Hits
Prevention is far cheaper and less stressful than cure. Here’s how to protect your pipes before temperatures drop:
Insulate Exposed Pipes
Pipe insulation (foam lagging) costs £1–3 per metre and takes minutes to install. Focus on:
- Pipes in the loft
- Pipes in unheated garages, basements, or outbuildings
- Pipes running through external walls
- Pipes under the floor near external walls
Use foam tube insulation with a slit down one side. Slide it over the pipe and tape the seam closed. For pipes in extremely cold areas (e.g. unheated outbuildings), use insulation rated for outdoor use or double-layer standard foam.
Insulate Your Loft (But Not the Floor Under the Tank)
Loft insulation keeps heat in your living spaces, but it also makes the loft itself colder. Make sure your cold water storage tank and the pipes around it are separately insulated with a tank jacket and pipe lagging. Do not insulate the loft floor directly under the tank — rising heat from the rooms below helps keep the loft space slightly warmer.
Seal Draughts and Air Gaps
Cold air flowing over pipes accelerates freezing. Seal gaps around pipes where they enter the property from outside using expanding foam or silicone sealant. Close air vents in lofts and crawl spaces during extreme cold (reopen them afterwards to prevent condensation).
Keep Heating On (Even When You’re Away)
If you’re leaving the property empty during cold weather, do not turn the heating off completely. Set the thermostat to 12–15°C. If you’re away for an extended period, consider draining the system entirely and turning off the water supply — this eliminates the risk but requires professional help to refill safely.
Open Cupboard Doors
Kitchen and bathroom cabinets trap cold air around pipes. During freezing weather, open cupboard doors under sinks to allow warm room air to circulate.
Let Taps Drip Overnight
Allowing taps to drip slightly overnight keeps water moving through the pipes. Moving water is much harder to freeze than static water. A drip every few seconds is enough — focus on taps served by pipes in vulnerable locations (loft-fed taps, taps on external walls).
Protect Outdoor Taps
External taps are extremely vulnerable to freezing because they’re fully exposed to outside temperatures. Before winter:
- Disconnect hoses: Water trapped in a hose or tap can freeze and burst the tap body or the pipe behind it.
- Shut off the internal isolation valve: Most external taps have an isolation valve inside the property (usually under the kitchen sink). Turn it off and drain the external tap by opening it fully until water stops flowing.
- Insulate the tap: Use a frost-proof tap cover like the BEEWAY Outdoor Tap Cover or wrap the tap in old towels secured with tape.
- Leave the tap open: Once drained, leave the external tap in the “on” position to prevent pressure build-up if any residual water freezes.
What to Do If You Have No Water During a Freeze
If your pipes are frozen and you can’t thaw them immediately — or if your water supply is cut off due to wider infrastructure damage — you’ll need backup water. The average UK household uses 150 litres per day. During a freeze event, you can survive on much less if you prioritise:
- Drinking: 2–3 litres per person per day
- Cooking: 1–2 litres per day
- Basic hygiene: 5–10 litres per day (hand washing, face washing, toilet flushing)
For a family of four, that’s 30–50 litres per day during an emergency — manageable if you’ve stored water in advance.
Complete Guide
Emergency Water Storage
How much to store, how to store it in small spaces, and the reality of UK water rotation.
Special Considerations for Flats and Shared Housing
If you live in a flat, maisonette, or shared house, frozen pipe risks and responses are more complicated:
Limited Access to Pipework
You may not be able to access the pipes serving your property. They could run through communal areas, neighbouring flats, or behind walls you can’t open without landlord permission. If you suspect a frozen pipe but can’t locate it, contact your landlord, managing agent, or building manager immediately.
Shared Stop Taps
Your internal stop tap may shut off water to multiple flats, or the stop tap for your flat may be in a communal area. Know where yours is before an emergency — if it’s communal, get the managing agent’s emergency contact number and save it now.
Upstairs Neighbours’ Burst Pipes
If a pipe bursts in the flat above you, you’ll experience the flooding without any control over the water source. If you hear dripping, see ceiling stains, or notice water running down walls, alert the neighbour above and the building manager immediately. Move belongings away from affected areas and document everything for your contents insurance.
Complete Guide
Water Coming Through the Ceiling? 5 Steps to Take and Who Pays
A burst pipe, an overflowing bath or a leak from the flat above can bring a ceiling down in hours. The five steps to take straight away, how to find where the water is coming from, and who pays for the damage.
Read the Full Guide: Water Coming Through the Ceiling →
Communal Heating Systems
Some flats rely on communal heating (especially in tower blocks or housing association properties). If the communal system fails during a freeze, individual flats can drop below safe temperatures quickly. Keep a secondary heat source and blankets as backup.
When to Call a Professional
Some frozen pipe situations require a plumber immediately:
- Visible bulging or cracking: The pipe is compromised and will burst soon.
- Leaking after thawing: A small leak will become a big leak. Don’t wait.
- Frozen pipe you can’t access: If the frozen section is behind a wall, under a concrete floor, or in a location you can’t reach safely, you need professional equipment.
- Repeated freezing: If the same pipe freezes every winter, there’s a design or insulation problem. A plumber can reroute the pipe or install permanent heating cable.
- Elderly or vulnerable occupants: If you’re not confident working with pipes or can’t physically access the frozen section, don’t risk injury. Call a professional.
Emergency plumber call-out fees during freezing weather can exceed £150–200, but this is far cheaper than flood damage from a burst pipe.
The “Thaw Burst” — Why Most Damage Happens After the Freeze
Most frozen pipe damage doesn’t occur during the freeze — it happens during the thaw. When water freezes inside a pipe, it expands by about 9%. This creates pressure that can crack or split the pipe, but often the ice itself acts as a plug, preventing water from escaping. You might not even know the pipe is damaged.
The moment the ice melts, water flows into the cracked section and starts leaking. If you’re not home when this happens, a slow drip can become gallons of water flooding your property over hours.
This is why the Beast from the East thaw in March 2018 caused more damage than the initial freeze in late February. Thousands of pipes cracked during the cold snap, but the leaks didn’t start until temperatures rose.
Insurance: What’s Covered and What Isn’t
Most UK home insurance policies cover burst pipe damage, but there are important exclusions:
Damage vs. Neglect
Insurance covers “sudden and unforeseen” damage. If you left the property unheated for weeks during winter, the insurer may argue this was preventable neglect. Always maintain minimum heating (12–15°C) if you’re away during cold weather.
Trace and Access Cover
Finding a leak often requires breaking through walls, floors, or ceilings. “Trace and access” cover pays for this investigative work. Not all policies include it — check yours. If you don’t have it, you’ll pay for the plumber to find the leak before repairs are covered.
Accidental Damage Cover
Some policies only cover specific listed events (fire, theft, storm). Frozen pipes may not be explicitly covered unless you have “accidental damage” cover. Check your policy wording or call your insurer to confirm.
Notify Promptly
Most policies require you to notify the insurer within 24–48 hours of discovering damage. Even if you’re still cleaning up, make the call and get a claim reference number.
Long-Term Solutions for Repeat Problem Pipes
If the same pipe freezes every winter, temporary fixes won’t cut it:
Reroute the Pipe
Move the vulnerable pipe away from external walls or unheated spaces. This usually requires a plumber and costs £200–500 depending on complexity, but it solves the problem permanently.
Install Heat Trace Cable
Electrical heating cable wraps around pipes and maintains a constant temperature above freezing. Self-regulating models adjust output based on ambient temperature, preventing overheating. Costs £50–150 for cable plus installation. Requires a nearby power source.
Improve Insulation
If rerouting isn’t possible, increase insulation around the problem pipe. Double-layer foam, add reflective foil wrap, or enclose the pipe in an insulated box. For loft pipes, consider building a small insulated enclosure around the tank and supply pipes.
Install Frost Thermostats
A frost thermostat automatically switches heating on if temperatures drop below a set threshold (usually 5°C). This protects pipes even if you forget to adjust the thermostat manually. Costs £30–60 plus electrician installation.
Weather Monitoring and Preparation
Frozen pipes don’t happen overnight — you usually have 24–48 hours’ warning from weather forecasts. Check Met Office warnings for cold weather and ice. When a cold snap is forecast:
- Insulate vulnerable pipes immediately (even temporary wrapping helps)
- Check your heating system is working
- Locate your stop tap and confirm it turns
- Stock up on bottled water (supermarkets sell out fast when warnings are issued)
- Charge your phone and devices
Sign up for Met Office weather warnings by email or text. This gives you advance notice of severe cold before it arrives.
Frequently Asked Questions
How do I know if my pipes are frozen?
The main sign is turning on a tap and getting nothing — or just a trickle. You might also hear a gurgling sound when you flush the toilet. Check pipes in unheated spaces first: under kitchen or bathroom sinks, in the loft, in an uninsulated garage, or along an outside wall.
What’s the safest way to unfreeze frozen pipes?
Start with the tap open so water can escape as the ice melts. Work from the tap backwards towards the frozen section. A hairdryer on a low setting, a warm (not hot) water bottle, or warm damp cloths are all safe options. Never use a naked flame — you risk cracking the pipe or starting a fire.
Should I turn the water off if my pipes are frozen?
Locate your stopcock now and leave it accessible, but don’t turn it off yet. Keep the tap open and start thawing gently. Only shut off the water immediately if the pipe has already burst or you see water escaping — at that point, stopcock off and call a plumber.
At what temperature do pipes freeze in the UK?
Pipes begin to freeze when the surrounding air drops to around -6°C, though poorly insulated pipes in draughty spaces can freeze at temperatures just below zero. It’s not just about outside temperature — pipes in unheated lofts and garages are most at risk because they lose heat much faster than pipes inside warm rooms.
What do I do if a frozen pipe bursts?
Turn off the stopcock immediately to stop the flow. Turn off your boiler and immersion heater. Open all cold taps to drain the system. Turn off electricity at the consumer unit if water is near electrics. Then call a plumber — don’t attempt to repair a burst pipe yourself while the system is live.
How do I stop pipes freezing in the first place?
Keep heating on a low setting (at least 13°C) during cold snaps, even overnight. Insulate pipes in the loft, garage, and under sinks with foam lagging — it’s cheap and takes 20 minutes. Leave cabinet doors under sinks open during a hard freeze to let warm air circulate. Fit an insulated cover on outdoor taps before winter.
Quick Action Checklists
Before the Freeze
☑️ Insulate exposed pipes (loft, external walls, garage)
☑️ Protect outdoor taps (disconnect hoses, insulate, isolate)
☑️ Locate and test your internal stop tap
☑️ Set heating to minimum 12°C if leaving property
☑️ Store emergency water (30–50 litres for a family of four)
☑️ Open cupboard doors under sinks during freezing nights
☑️ Sign up for Met Office weather warnings
☑️ Check home insurance covers frozen pipe damage
Frozen Pipe Discovered
☑️ Open the affected tap fully
☑️ Locate the frozen section (coldest part of the pipe)
☑️ Apply gentle heat (towels, hairdryer, space heater)
☑️ Never use flames, boiling water, or excessive heat
☑️ Watch for leaks as the pipe thaws
☑️ If pipe is bulging, turn off water and call a plumber immediately
Burst Pipe Emergency
☑️ Turn off water supply at stop tap
☑️ Turn off electricity if water is near electrics
☑️ Contain water with buckets and towels
☑️ Move valuables away from affected area
☑️ Document damage with photos and videos
☑️ Call emergency plumber
☑️ Notify home insurance within 24–48 hours
Build Your Resilience
Further Reading: Related Guides
- Emergency Utility Shutdown
- UK Home Flood Defence
- Emergency Water Storage
- Keep Warm Without Heating
- Preventing Indoor Mould & Damp
- Water Coming Through the Ceiling
All our guides can be found listed on our resilience hub.
Gear We’ve Tested & Reviewed
All our reviews can be found on our reviews and resources page.